
Hazelnut Cheesecake
There is something undeniably luxurious about a good cheesecake. Creamy, rich and indulgent, with the irresistible combination of chocolate and hazelnut, it feels like the kind of dessert reserved for special occasions.
But luxury doesn’t always have to be something you buy. Sometimes, it’s something you create.
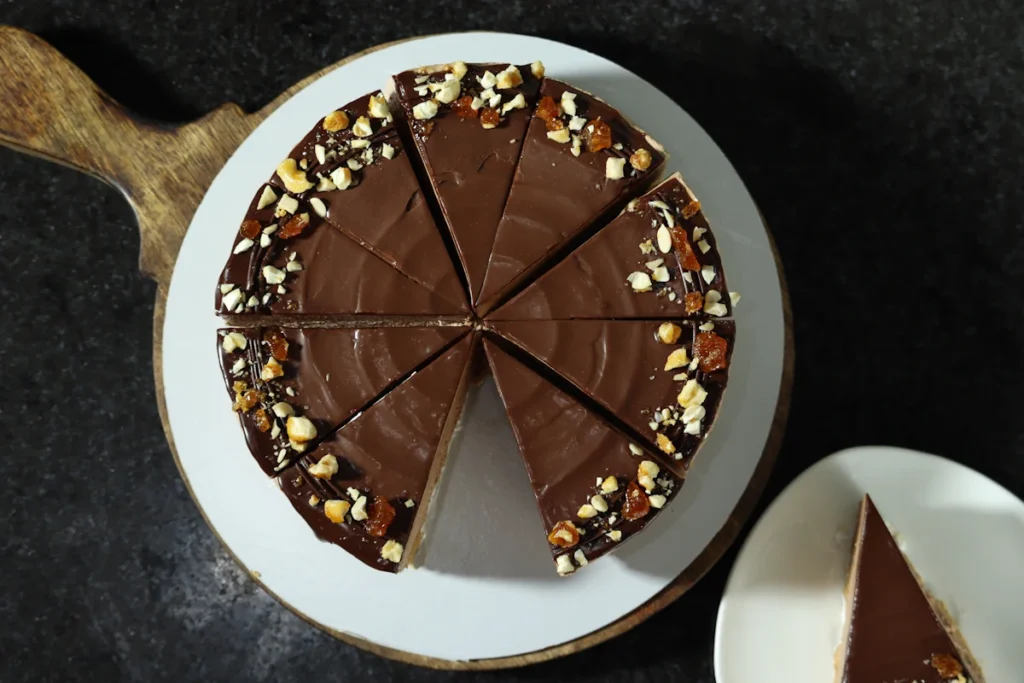
There’s a special satisfaction in serving a beautiful dessert and knowing you made it yourself. You get to enjoy the indulgence and take pride in the skill behind it, without the luxury price tag.
And we’re here to show you how.
As someone sharing tips and techniques from a place known for serving one of the best cheesecakes in Imphal, we know that a few simple ingredients and the right techniques can turn into something truly special. This hazelnut cheesecake is rich, creamy and every bit as indulgent as a dessert you’d expect from a high-end patisserie.
It also gives you the experience of enjoying a premium cake in Imphal at home, without the premium price.
The best part? It’s a no-bake cheesecake, so there’s no water bath, no cracked top and no worrying about whether the centre has set properly. Make it a day ahead, let it set overnight, add the chocolate topping, and you’re ready to serve.
And when everyone asks, “Where did you buy this?” you get to smile and say, “I made it.”
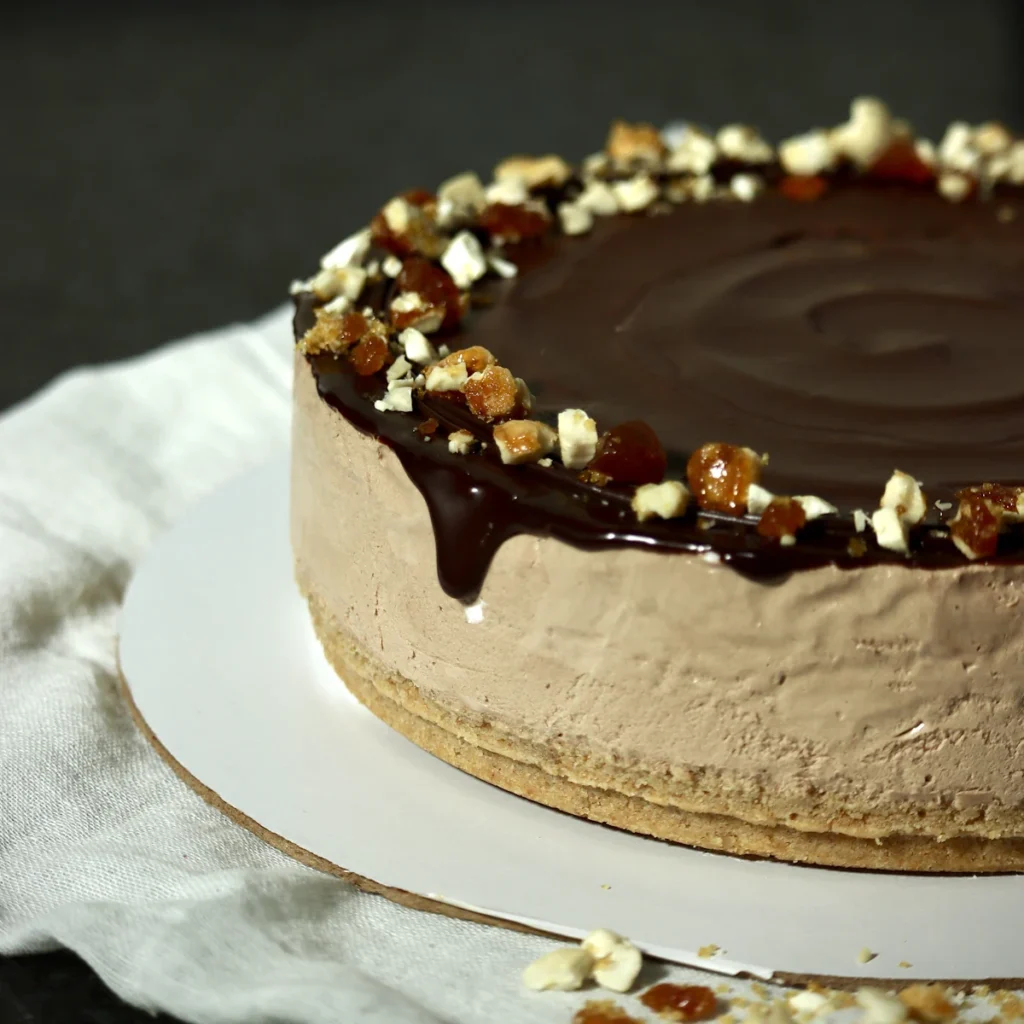
What You’ll Need
For the Cheesecake
- 280 g cream cheese
- 140 g Milkmaid (sweetened condensed milk)
- 10 g gelatine
- 70 g water
- 100 g chocolate
- 20 g Nutella
- 150 g whipped cream
For the Crust
- Ground cookies
- Melted butter
For the Topping
- 50 g chocolate
- 50 g whipped cream
Start with the Crust
Before getting into the creamy cheesecake filling, prepare your cookie base. Mix the ground cookies with melted butter until the mixture resembles wet sand. Press it firmly into the bottom of your mould.
Don’t just sprinkle the crumbs in and hope for the best. Press them down properly, especially around the edges, to create a crust that holds together nicely when you cut the cheesecake.
Pop the mould into the refrigerator while you prepare the filling.
Give the Gelatine a Little Time
Next comes the gelatine. Mix 10 g gelatine with 70 g water and leave it aside for about five minutes. This is called blooming, and it allows the gelatine to absorb the water and hydrate properly.
Once bloomed, place it over a double boiler and gently heat until it becomes completely liquid, clear and lump-free.
One important thing here: don’t let the gelatine get boiling hot. Once melted, allow it to cool slightly. It should be liquid and lukewarm rather than hot when it goes into the cheesecake mixture.
Bring on the Chocolate
While the gelatine is doing its thing, gently melt the 100 g chocolate and 20 g Nutella together.
Stir until you have a smooth, glossy mixture. Let this cool slightly before adding it to the cream cheese. Hot chocolate can loosen or even split your cheesecake mixture, so this small step makes a big difference.
Make the Creamy Cheesecake Base
In a clean bowl, beat the 280 g cream cheese and 140 g Milkmaid until smooth and creamy.
You don’t need to whip it endlessly, just enough to get rid of any lumps and create a smooth base.
Now add the slightly cooled chocolate-Nutella mixture and mix until everything is evenly combined.
At this point, the mixture should already look rich and silky. And yes, this is the stage where you may be tempted to taste it. We won’t stop you.
Add the Gelatine and Work Quickly
Pour the slightly cooled, melted gelatine into the cheesecake mixture and mix quickly until it is evenly incorporated.
This is one part of the recipe where timing matters. Once gelatine starts cooling, it begins doing its job, so you don’t want to spend ages mixing the batter after adding it. Just 30 seconds is enough.
Fold in the Whipped Cream
Now for the part that gives this cheesecake its lovely light, creamy texture.
Add 150 g of firmly whipped cream and gently fold it into the chocolate-cheesecake mixture.
Make sure your whipped cream is properly whipped and holds its shape before adding it. Resist the urge to beat everything together vigorously. Folding gently helps retain the air in the cream, keeping the finished cheesecake creamy rather than dense.
Let the Cheesecake Set
Take your chilled cookie crust out of the refrigerator and pour the cheesecake mixture over it. Smooth the top and place it in the freezer to set overnight.
This overnight rest is worth it. It gives the gelatine enough time to set the cheesecake properly and allows the chocolate and hazelnut flavours to settle into each other.
If you’re making this for a dinner, party or celebration, this is exactly why it’s such a convenient dessert. All the major work can be done the day before.
And Finally, the Chocolate Topping
Once the cheesecake is completely set, make the topping by gently melting 50 g chocolate with 50 g whipped cream.
Stir until smooth and glossy, then pour it over the chilled cheesecake. Let it settle into an even layer before cutting.
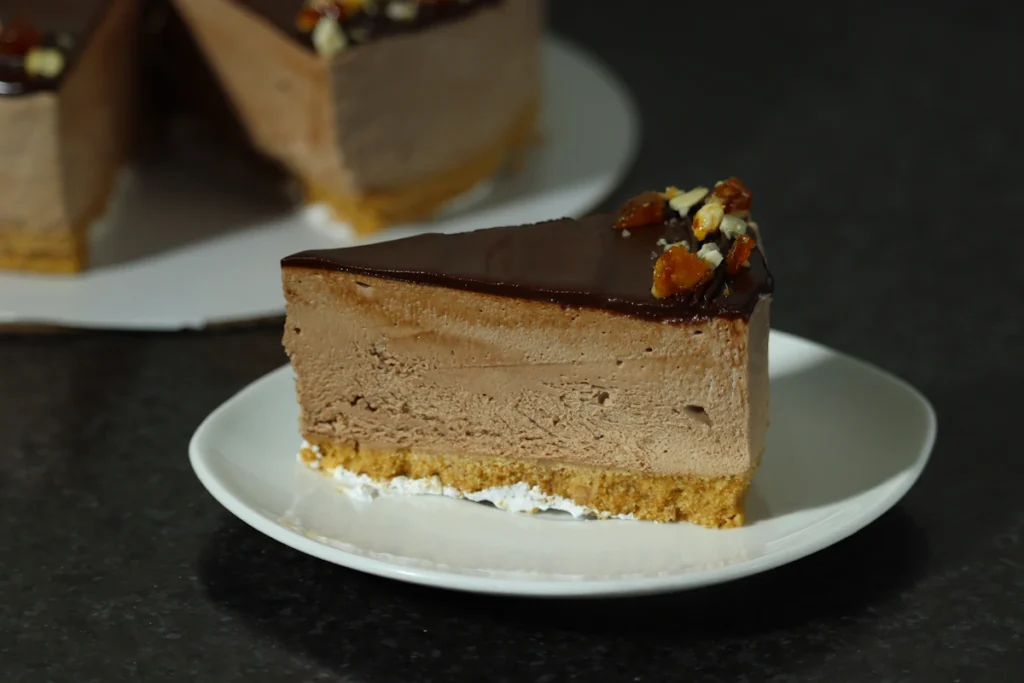
For the cleanest slices, use a sharp knife and wipe the blade between cuts. It makes a surprisingly big difference when you want neat cheesecake slices.
A Few Things That Will Make Your Cheesecake Better
Don’t rush the gelatine. Bloom it first, then melt it gently over a double boiler. It should be completely liquid and lump-free before you add it.
Watch the temperature. Both the melted chocolate-Nutella mixture and gelatine should cool to lukewarm before being added to the cream cheese. Too much heat can affect the texture of the filling.
Use properly whipped cream. Your whipped cream should be firm and hold its shape. This helps give the cheesecake its structure and creamy texture.
Be gentle once everything comes together. Over-mixing can knock the air out of the whipped cream and leave you with a heavier, less airy cheesecake.
Don’t hang around after adding gelatine. Mix just until it is incorporated and move on to assembling the cheesecake. Over-mixing at this stage can allow the gelatine to start setting prematurely in the bowl.
When to Make This Cheesecake
This is a particularly good dessert to make when you have guests coming over because it is almost entirely make-ahead. Prepare the cheesecake the night before, let it set overnight, and finish it with the chocolate topping before serving.
And if you’re simply making it for yourself? Even better. Keep it chilled, cut yourself a generous slice, and let the chocolate-hazelnut combination do the rest.
The result is a smooth, creamy cheesecake with a firm cookie base, a rich chocolate-hazelnut centre and a silky chocolate topping. It looks impressive on the table but is actually quite straightforward to put together.